
· By KATE TALCOTT
A Guide To My Essential Watercolor Supplies
"What supplies should I use?!?!"
This is one of the most commonly asked questions I get from folks wanting to learn watercolor.
When I first started, I didn’t know where to begin, so I found a list like this and started exploring. Everyone has different tastes, but this is what I like. As you play around and explore your style, you will probably find things that work better for you, and that’s great! It’s all part of finding your groove.
In this blog post, I’ll share a little bit about the types of supplies you need to get started with watercolor. This is mostly aimed toward folks who are a bit more serious and ready to invest a bit of money for high quality supplies, rather than a basic Crayola set. The one thing about watercolor that I’ve found is that the quality of supplies can make a world of difference.
Be sure to check out the link at the bottom to get my FREE supply list.
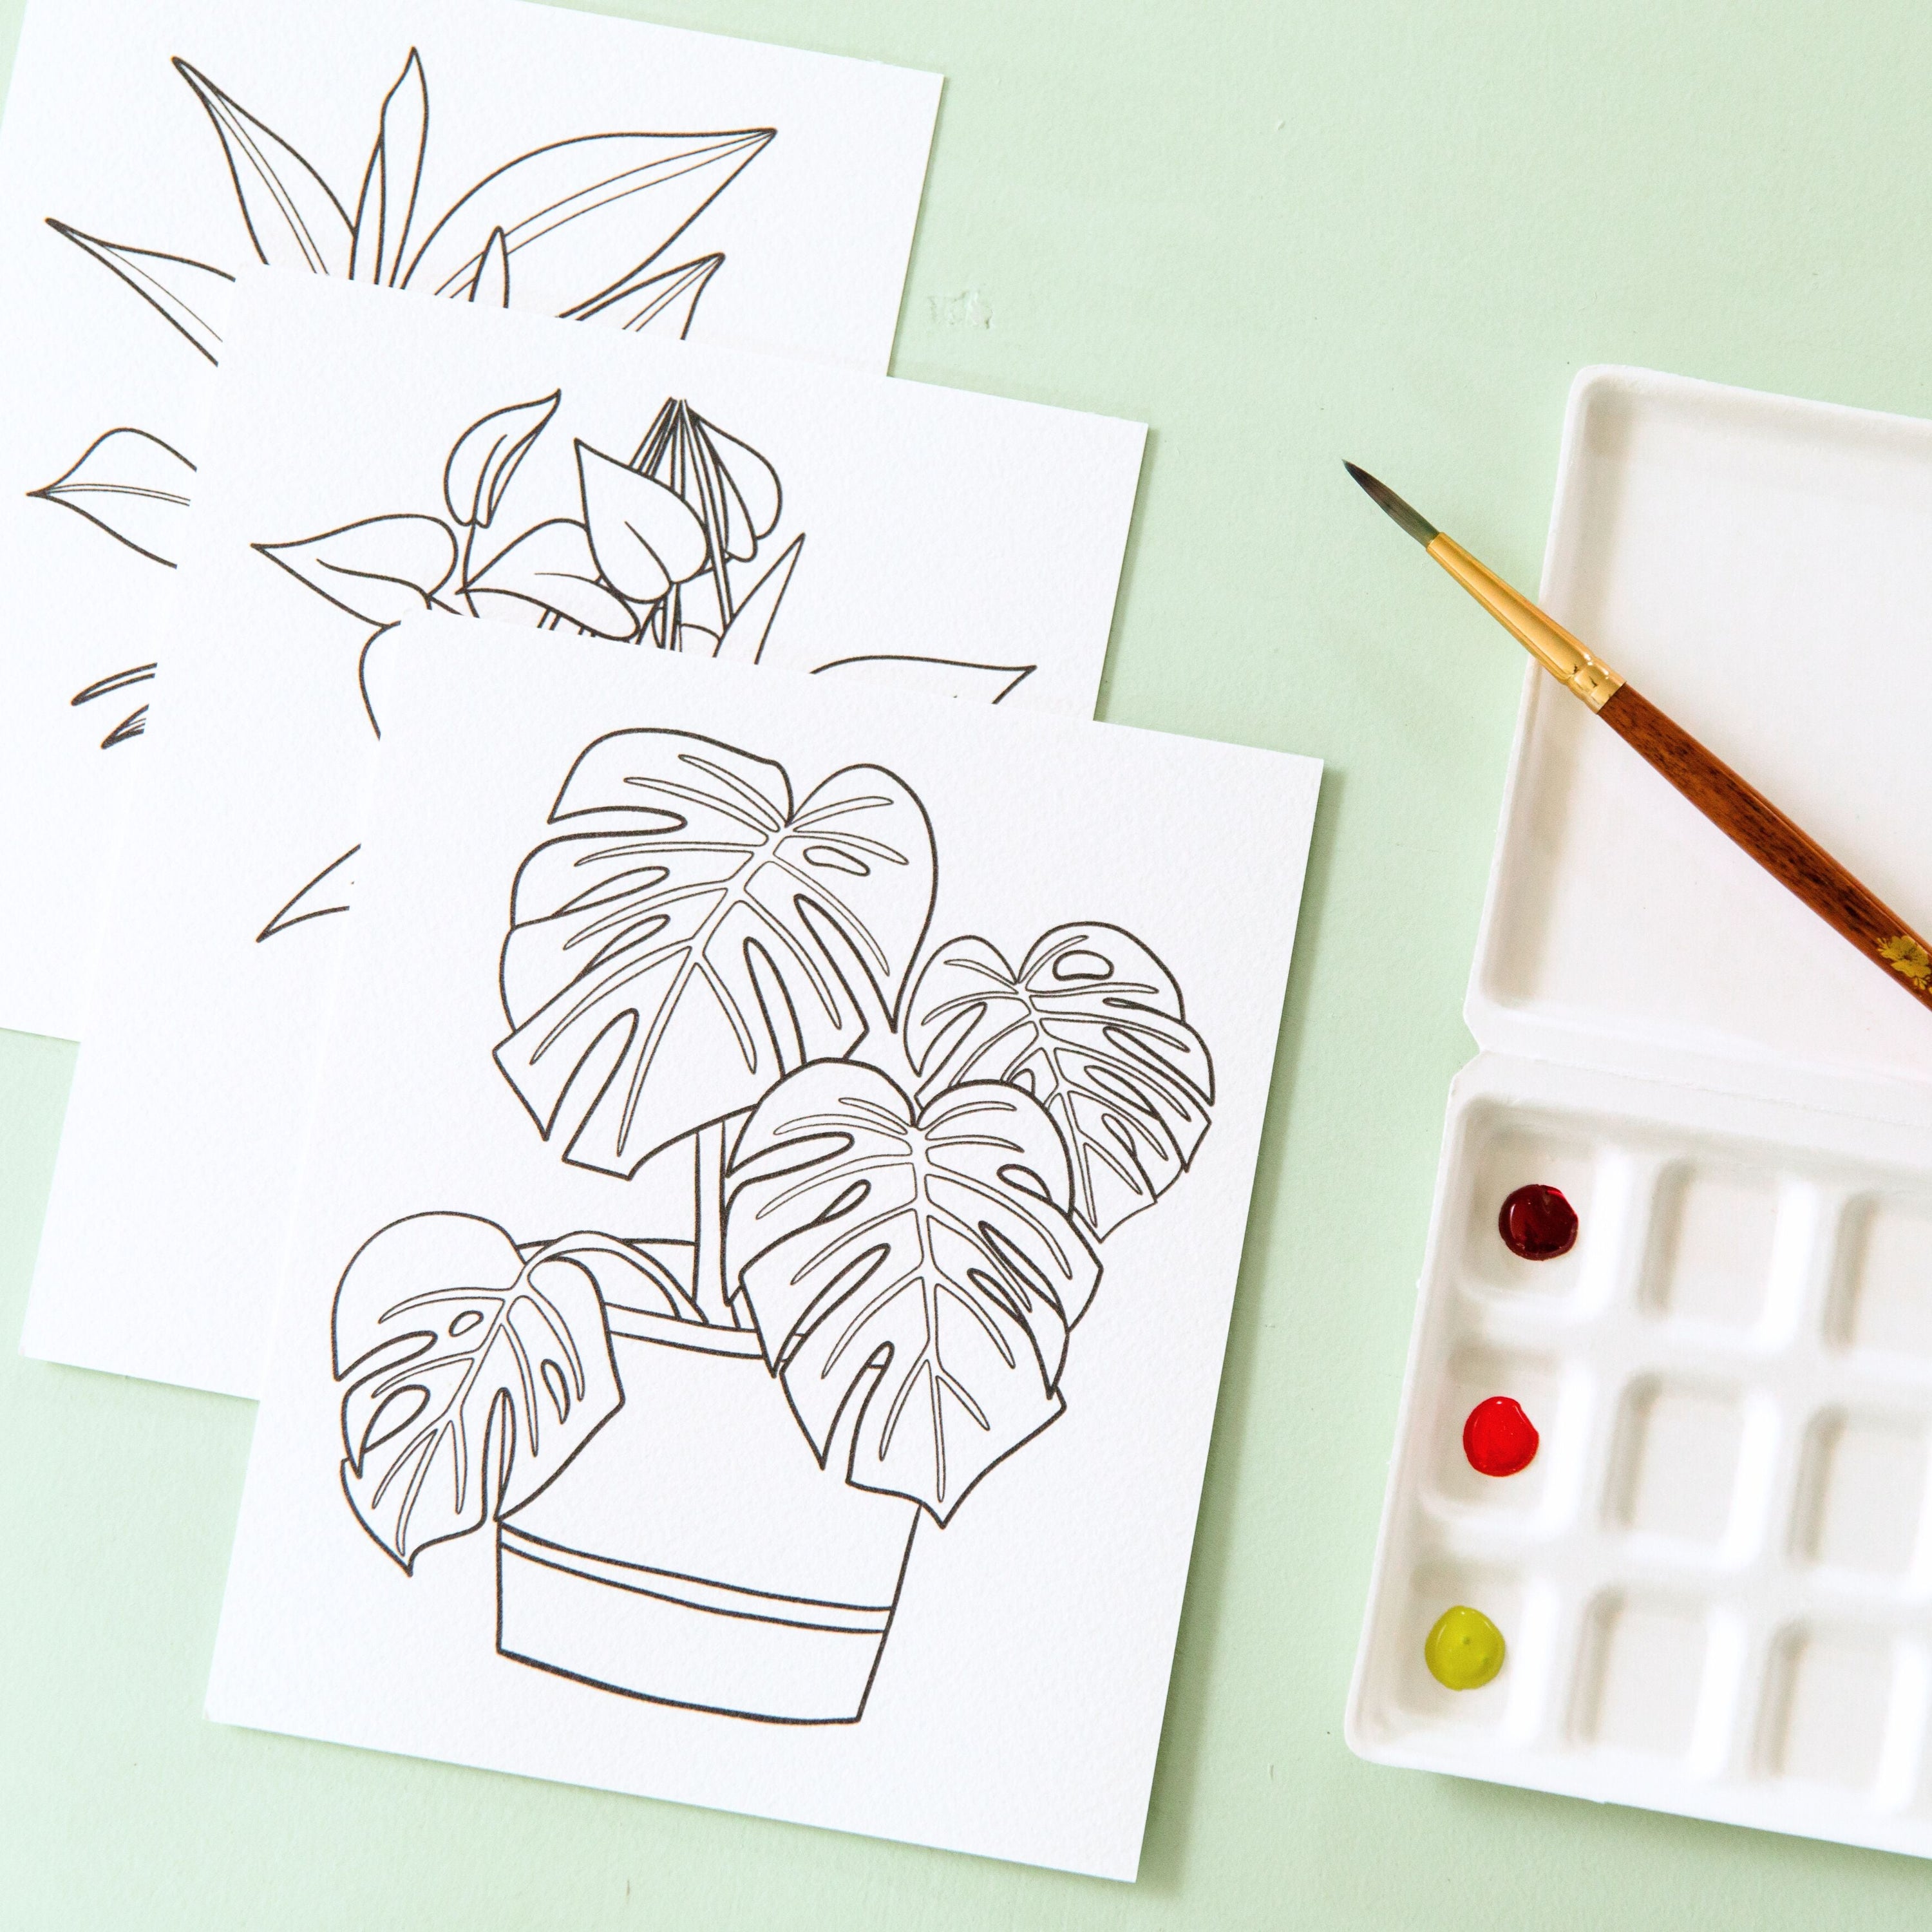
PAPER

You can’t just use any paper for watercolor painting. I mean, you can, but don’t be surprised if the water just slips off the paper and bleeds all over the place. Here are a few things to consider.
TYPE OF PAPER:
Watercolor paper is specifically made to allow the water to stay wet on the page long enough for you to work with it, but also to not move around. There are tiny ridges called tooth on the surface that help grip the water and keep it in place. There are two types of paper that are most often used. Cold pressed watercolor paper and hot pressed. Hot pressed is smooth and dries faster. Cold pressed has deeper tooth and allows you to manipulate the water and paint a little longer. I work exclusively with cold pressed watercolor paper.
WEIGHT:
You also want a sturdy weight. I use 140 lb cold pressed paper for things I'm going to scan. I prefer 300 lb cold pressed paper for custom portraits. The sturdier the paper (aka the higher # lb), the less buckling you’ll have. Have you ever accidentally dropped your book in the bath and all the pages start to wrinkle? (No?!?! JUST ME?!?!) Well imagine if that buckling happened to your beautiful watercolor painting you just made. That is why you want a sturdy paper.
FORM:
Watercolor paper can come in individual sheets, pads like a notebook, or blocks. A block of watercolor paper is like a pad where there are multiple sheets but all the edges are sealed together. This also helps your paper from buckling. There are ways to pre-treat your paper to stop it from buckling, but this is great if you are lazy like me! Sometimes it will still warp a bit if you use a lot of water on the page, but I try to avoid that by putting tape around the edge for some extra security.
BRUSHES
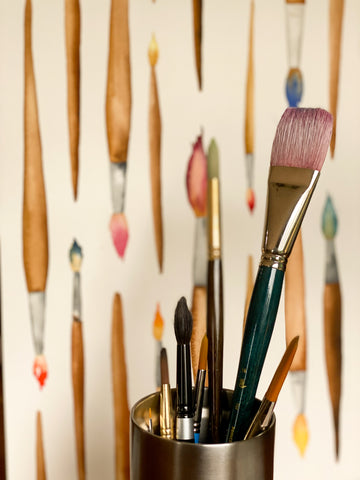
BRUSH TYPE:
Round: This is what I use for the most part. These allow you to use pressure to get a really thick stroke and a very thin stroke with a light touch. I find that these are the most versatile.
Flat: These are great for getting good crisp lines or filling in a large area with paint. I don’t use these a ton, preferring the flexibility of the round brush, but some people love them!
Wash and Mop: If you like doing washes (think sunsets or big meadowy fields) this is going to be a great brush for you. If you like mostly small detailed painting, this might not be necessary. I think it is always good to have at least one, just in case. I don’t use it a ton in my work, but it is really handy when I need it. It helps you cover a large area with water without parts of your painting drying up first.
Rigger: These are brushes with really long bristles. These are good for detail lines and since the hairs separate a lot, it can be good for adding texture. I don’t like using these as much because I don’t feel like I have as much control, but they can be especially great for watercolor lettering.
Animal hair or synthetic: If you’re vegan, this is a very easy decision. If you’re not, it can be harder. When synthetic brushes first came out, while they were cheaper than animal hair brushes, the quality just wasn’t the same, but synthetic brushes have come a long way since then. There are many wonderful synthetic brushes out there. If you’re just getting into Watercolor, I suggest synthetic brushes because they are cheaper and still give you incredible control.
SIZE:
Brushes come in different sizes and what size you get really depends on what you paint. If you are working on a large scale, you probably wouldn’t really need an itsy bitsy detail brush and a size 1 or 2 would be just fine. If you are working on a teenie tiny scale, the detail brushes may be the only thing you need. If you’re just starting out and want a good assortment to cover your bases, I recommend getting a 1, 2, 4, 6, 8 round brush and a size 12 mop brush.
BRAND:
There are so many brands out there and I have tried a bunch. In my early days I got a bunch of brush sets off of Amazon trying to find a favorite. Let me tell you, I got a lot of duds. Buying brushes is really hard to do online because you can’t quite get a sense for how they spring and wiggle around. After much trial and error, I’ve found I really like Princeton Select, Princeton Snap, and Princeton Velvetouch brushes. You can check out a video of my favorite brushes here.
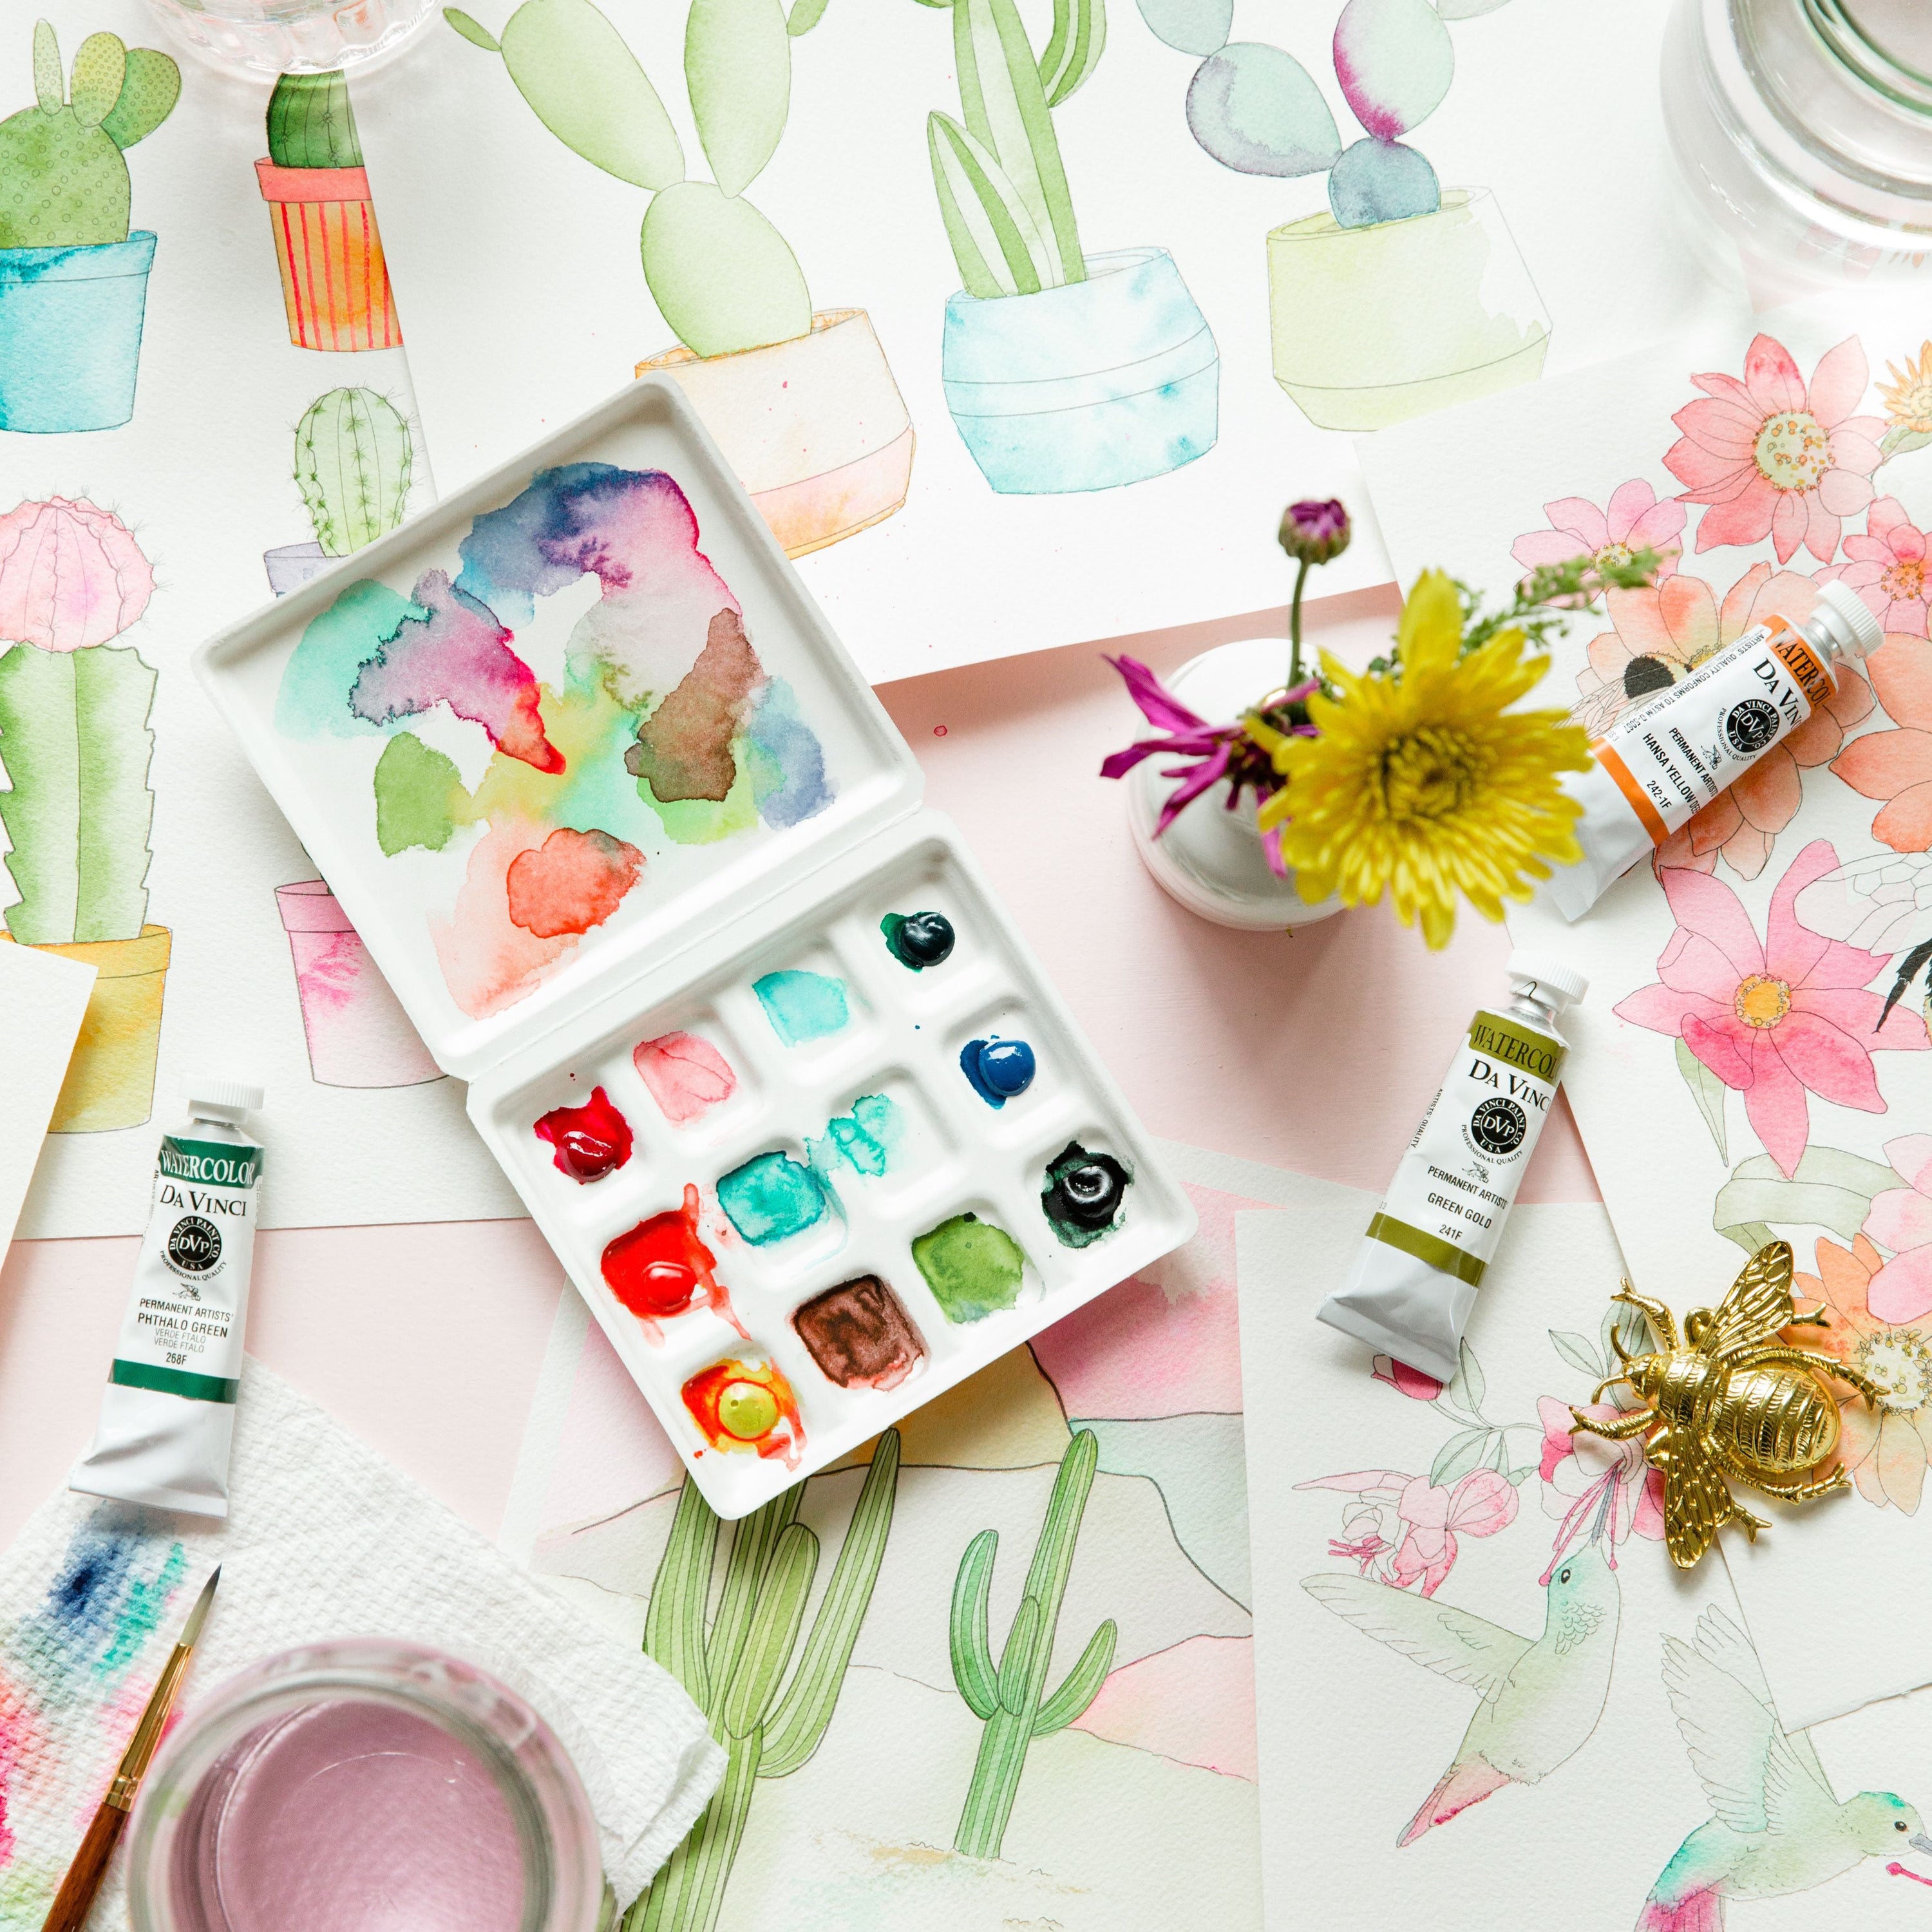
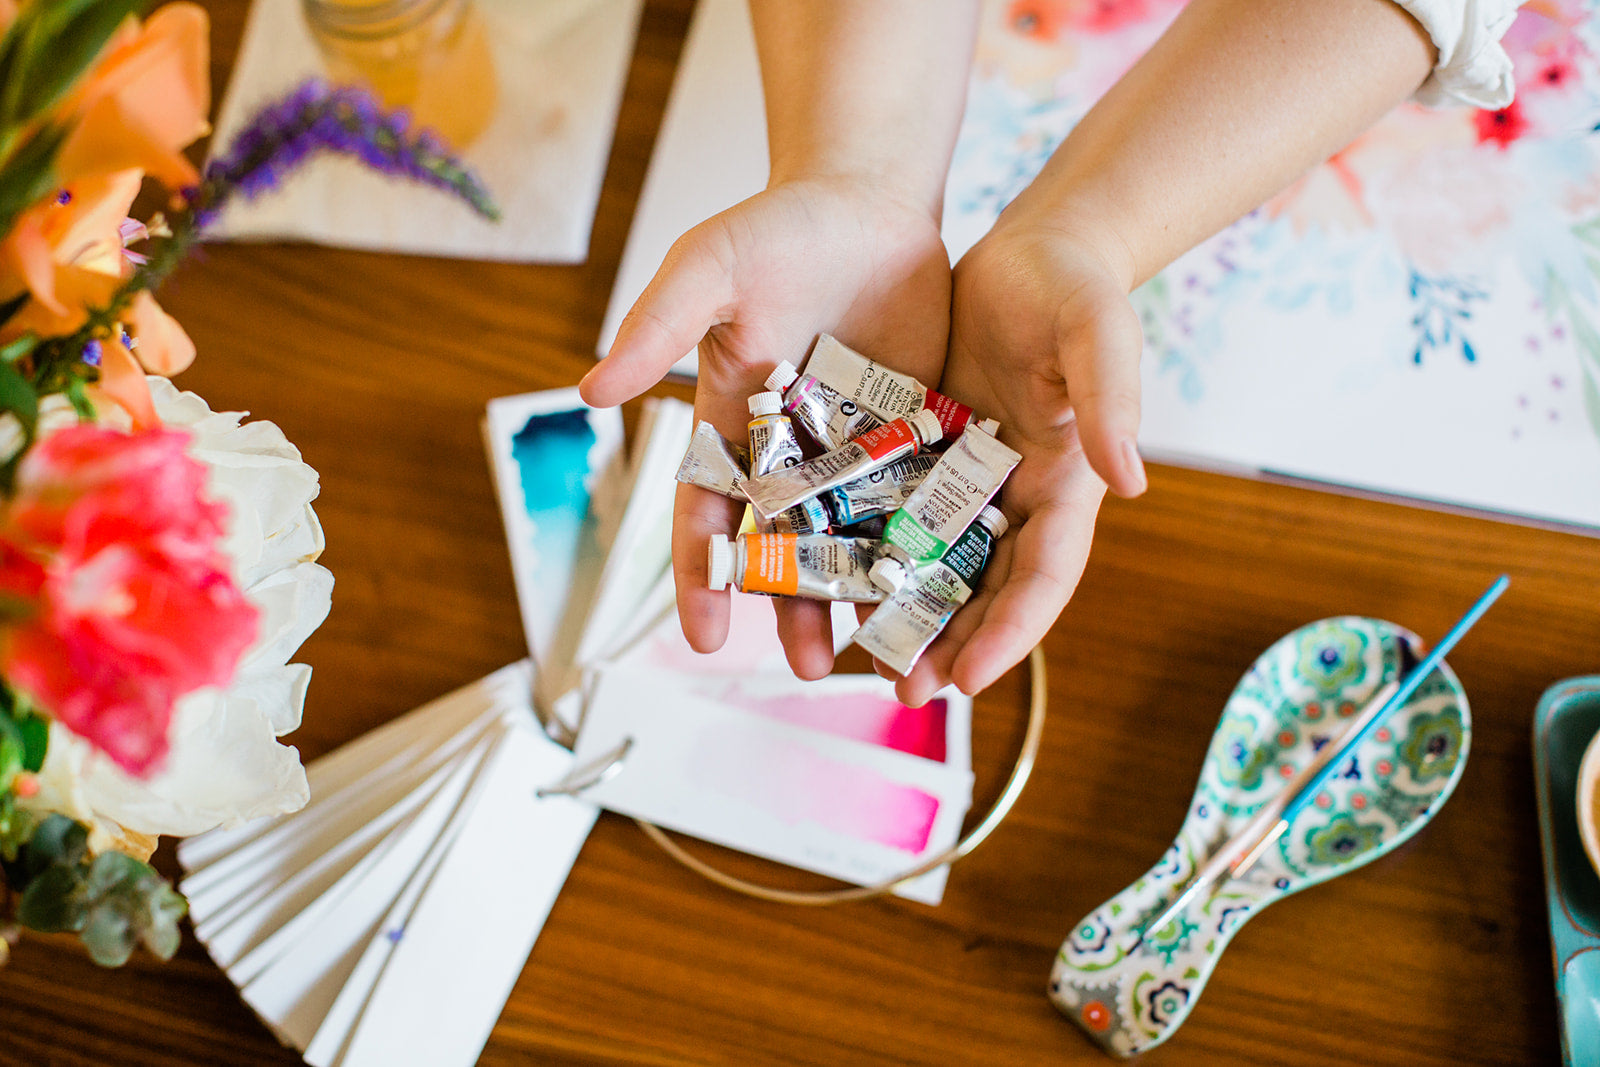
PAINT

Okay, so you have your brushes and your paper! You’re almost set to go! Let's talk paint!
FORM:
Watercolor paint can come in many different forms. It can can come in in a tube, like a tube of toothpaste--these come out wet. It can come in pans, which kind of look like eyeshadow--they are hardened, dry watercolor that you activate by wetting it. Lastly, you can get watercolor in liquid form, almost like calligraphy ink. I mostly use tube watercolor for my realistic paintings, since I like the flexibility of painting with wet or dry paint. I like using liquid watercolor when I am doing watercolor lettering because it helps the paints blend smoothly and requires less set up.
QUALITY:
Watercolor comes in different quality levels. There is normal grade watercolor and there is professional grade. Here is where you don’t want to skimp. Getting professional grade watercolor makes sure that the paint is really smooth and won’t clump or look grainy (called granulation). When you’re searching for paint, make sure it says "professional-grade" on it. If you’re getting paint from a small business, usually in pans, check the reviews. Some colors perform better than others, just based off of what they are made from.
COLORS:
This really depends person to person. If you’re just getting started, you can really get away with a red, yellow, blue, and a black (neutral tint is my preference instead of black). With these four colors, just like you learned in elementary school, you can make most of the colors. If you paint a lot of florals, you might want to add in a pink and a green. If you do mostly oceans and skies, you might want some more blue variants. As you paint more, you’ll find you start to get your favorites. Some of my favorites are: yellow ochre, neutral tint, phthalo turquoise, prussian blue, and oxide of chromium.
BRAND:
I really like Winsor & Newton professional watercolors tubes. For liquid paint I like Dr. Ph. Martin's Hydrus Fine Art Liquid Watercolors. Liquid watercolor is great for watercolor lettering. For an opaque white, I will either use a Winsor & Newton gouache or Dr. Ph. Martin’s Bleed-proof White.
WATER
Y’all! This is the easy one! You can use water from your tap and just a couple of cups to hold it! Pro tip - make sure it looks very different from your coffee cup!