
· By KATHERINE TALCOTT
5 Ways To Get The Most Out of Your Watercolor Tube Paints
Let's just go right out and say it,
“Watercolor paint is expensive!!!”
Well, let me rephrase that, professional grade watercolor paint is expensive. Let me first start and say that whatever type of paint you are using, whether it’s the fancy stuff or taking it classic with the Crayola, and there are supplies to meet your needs at every step of your journey.
This post is going to get into how to get the most out of your professional grade watercolor tubes (the expensive stuff) but if you’re just getting started, check out this blog post where I go into the best affordable watercolor supplies for beginners and this YouTube video where I explain why watercolor is the best medium for people wanting to start painting.
Okay, let’s get into it!
If you’re getting serious about watercolor, you’ve probably looked into Winsor & Newton Professional Watercolor Paints or Daniel Smith Fine Watercolor Paint tubes.

Don’t know what I’m talking about? Here is a YouTube video where I break down the different kind of watercolor paints.
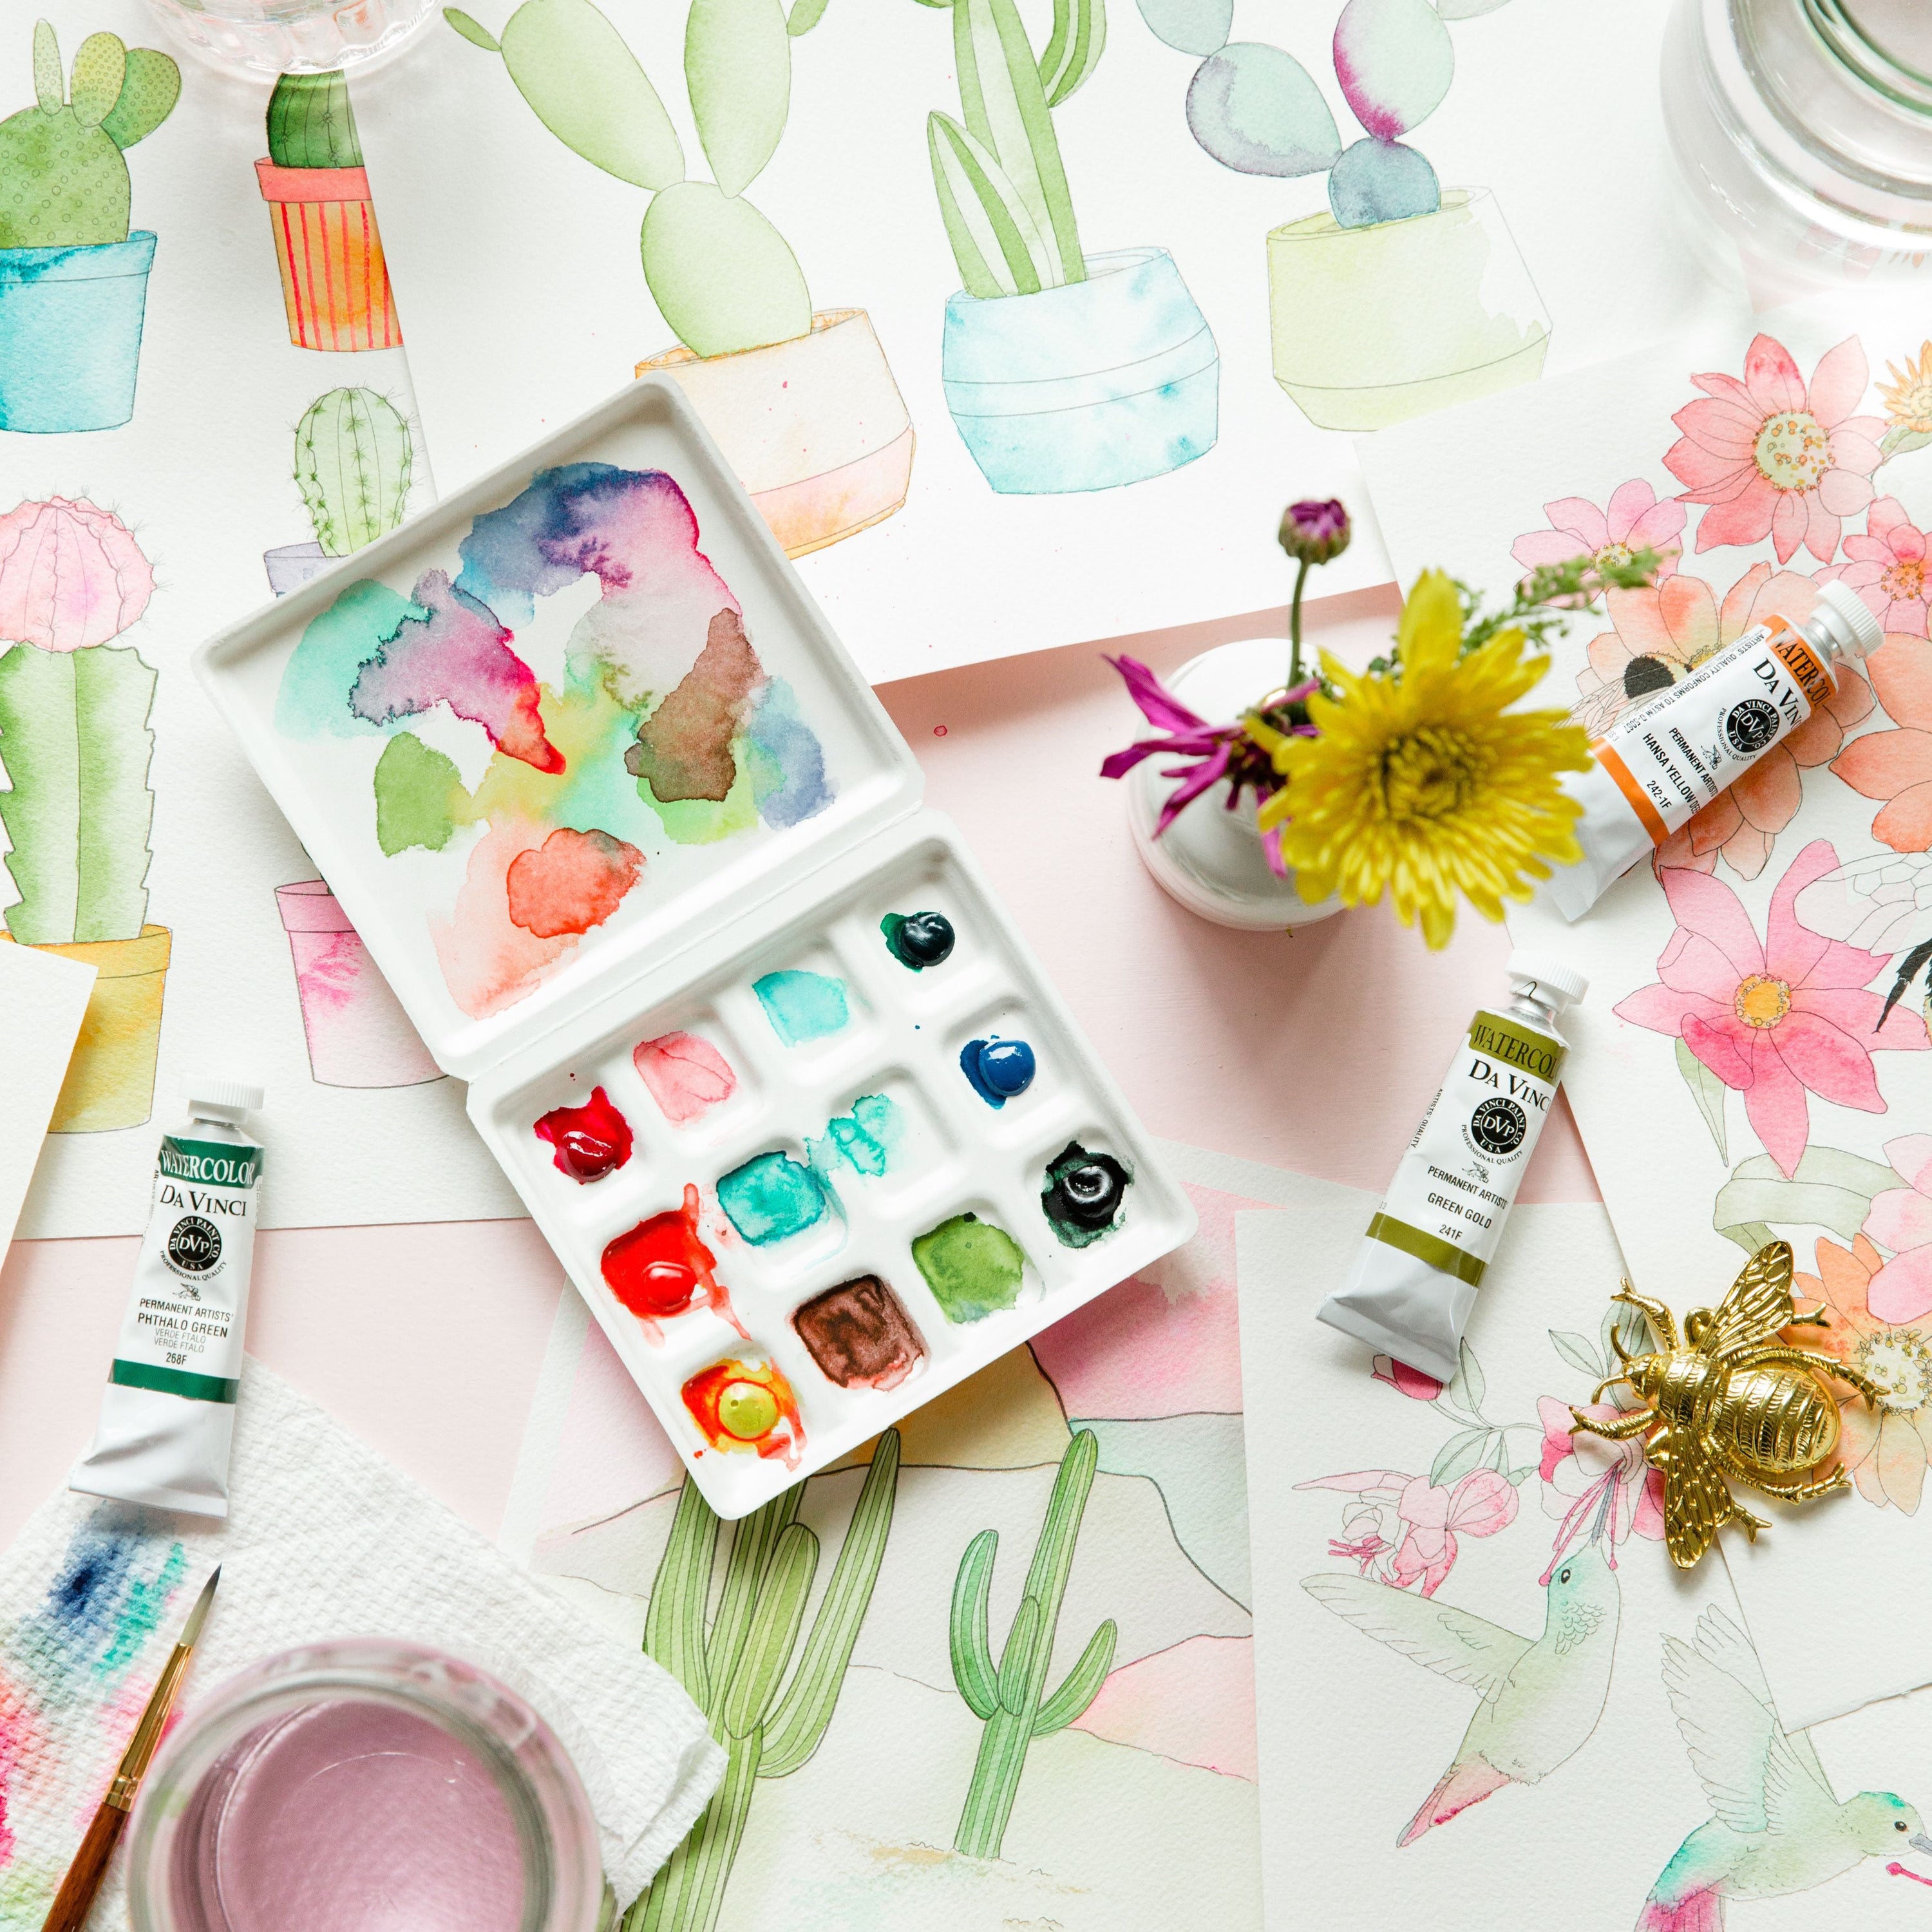
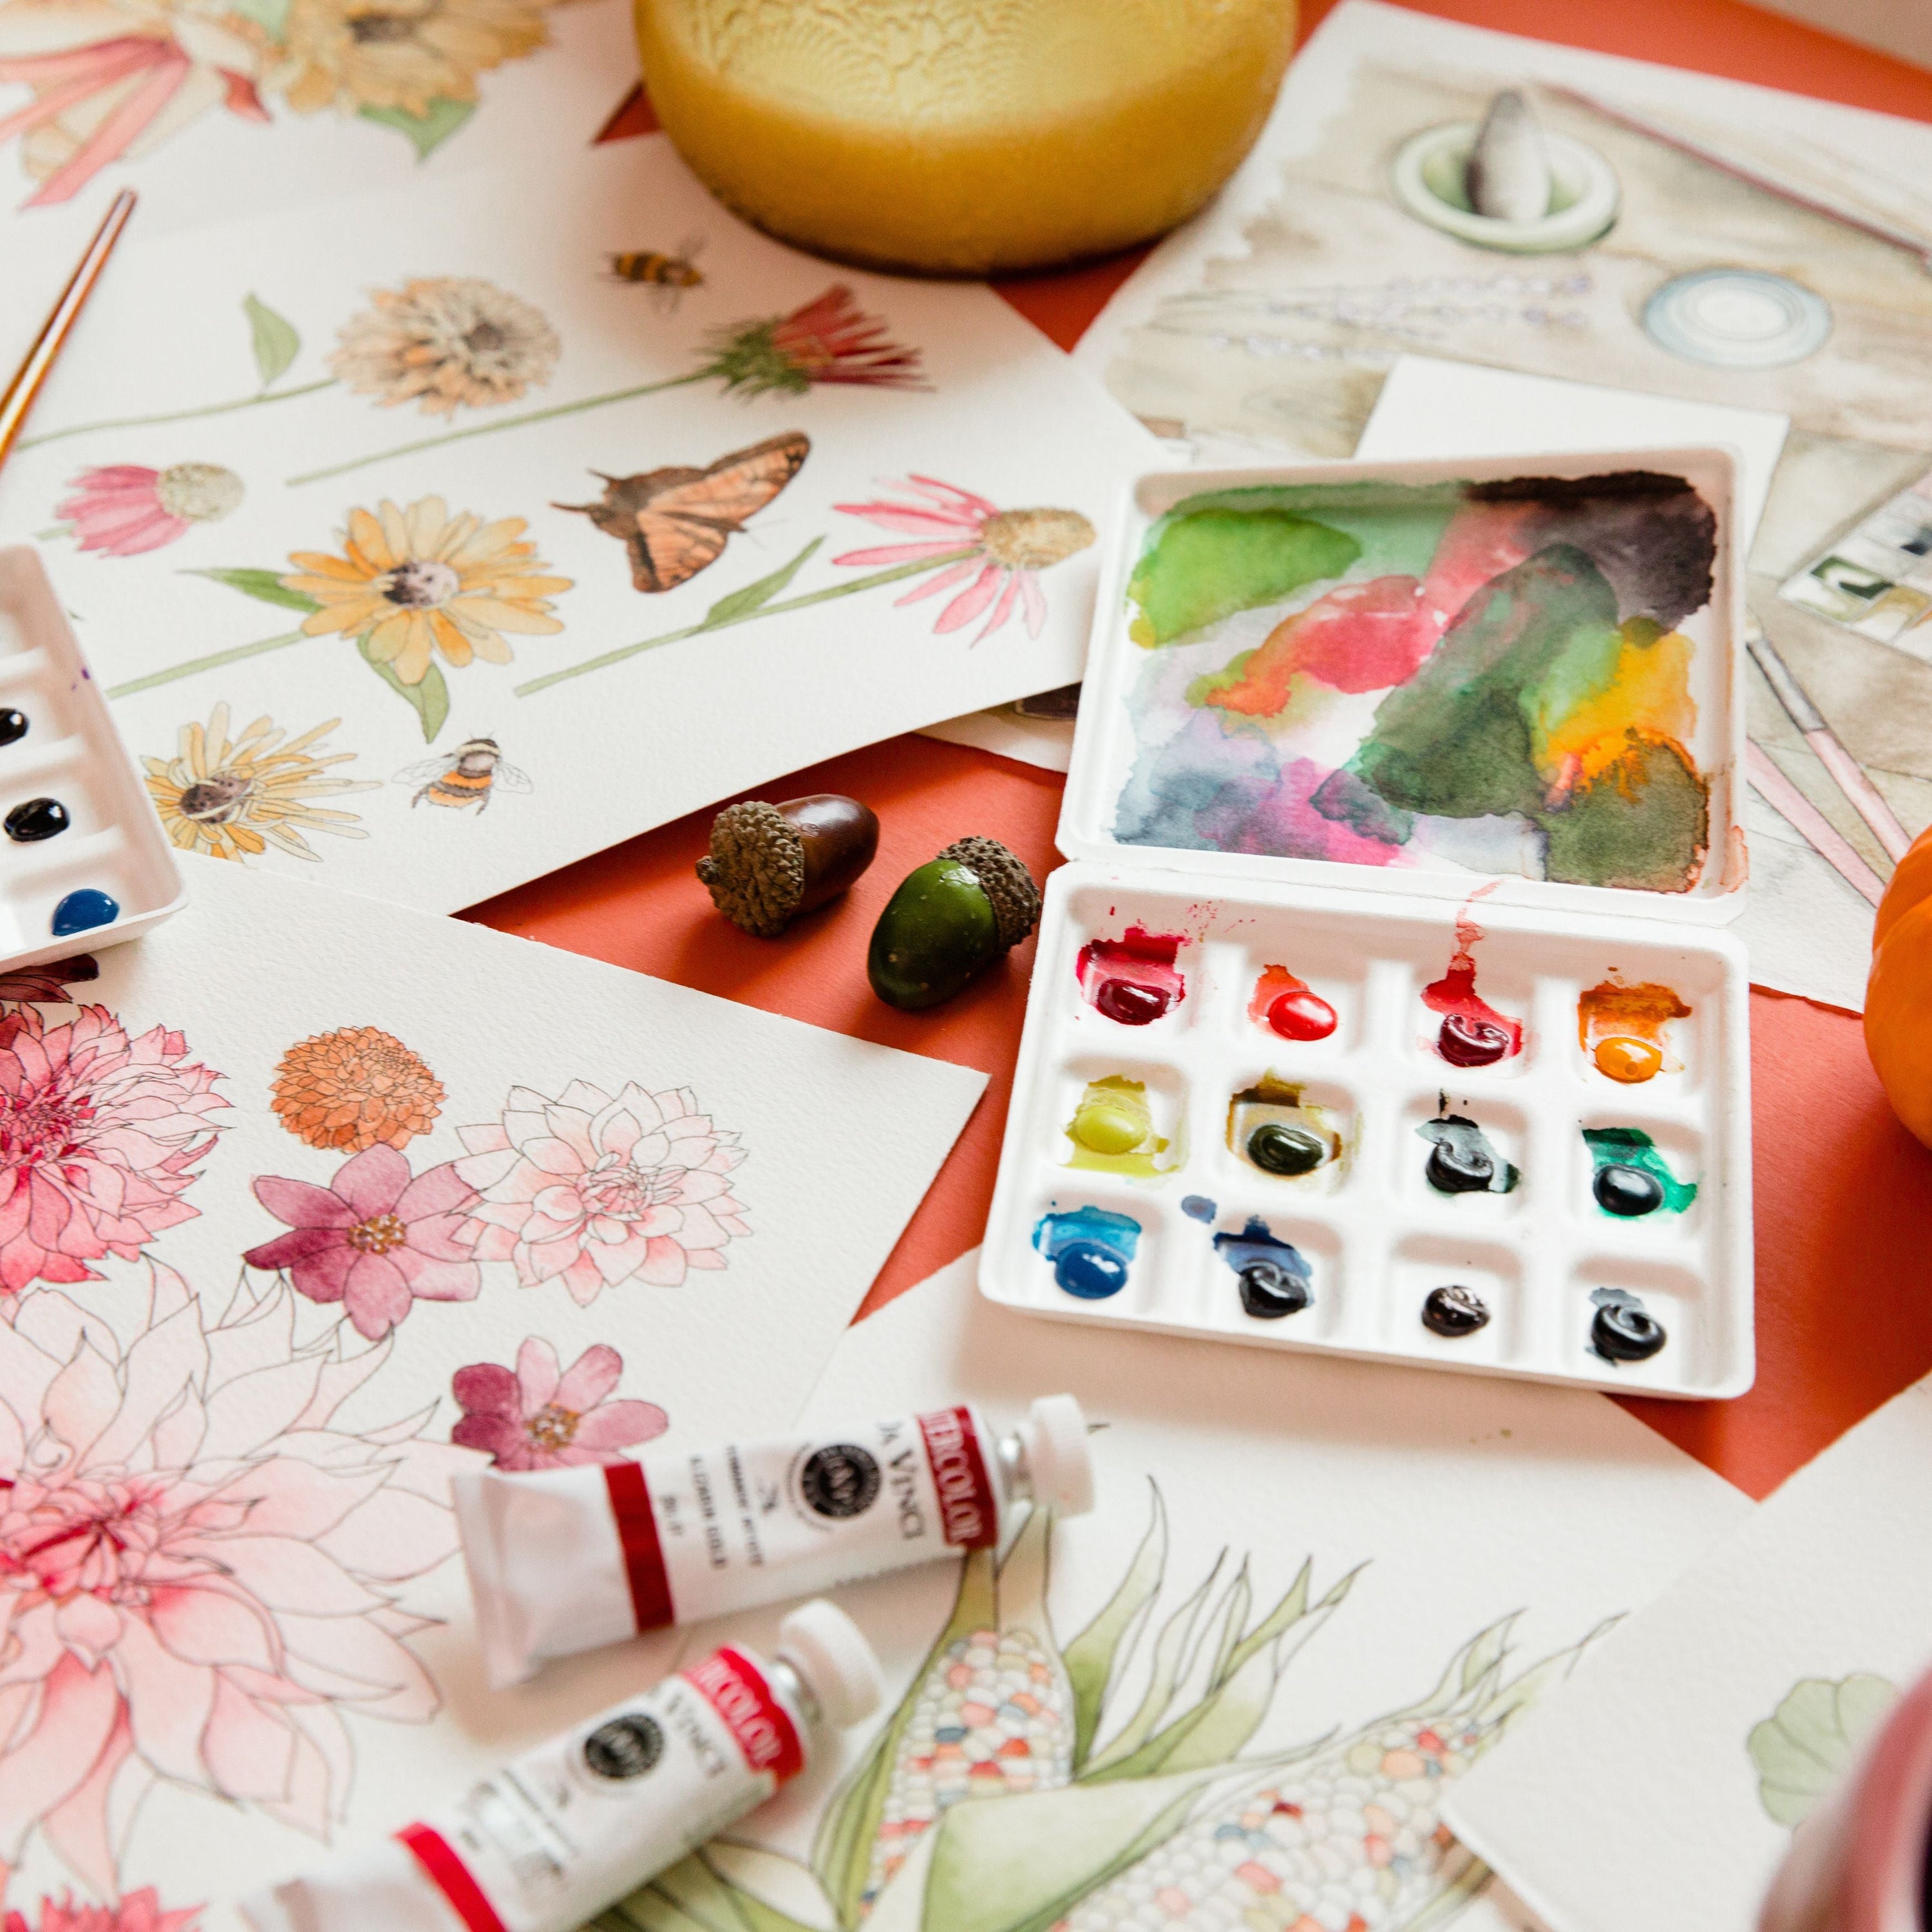
Okay so now that we’re all on the same page, WATERCOLOR TUBES! Once you use them, it’s hard to go back because of their deep pigmentation. They don’t use filler or extenders - it’s just straight to the good stuff – those vibrant, juicy colors! They also have lightfast properties (ability to resist fading). I especially love them when used right from the tube because they get this dark, luscious umph that you just can’t get with watercolor pans.
But,
And this is a big but!
They’re expensive! If you go to your local craft store, you’ll look at the little shelf and see that they might be behind lock and key. You peer through the glass and see an itty bitty tube of paint, it seems fit for a mouse! You catch a glimpse of the price tag and say
“Holy cannoli! FIFTEEN DOLLARS FOR THAT TINY LITTLE THING?!?!”
And yes, there is totally an element of sticker shock! But since there’s nothing quite like paint from the tube, here are 5 ways that you can get the most out of your watercolor paint tubes!

5 Ways to Get the Most Out of Your Watercolor Tube Paint
1. Let the paint dry
One of the best ways to make your paint last is to squeeze the paint out onto your palette (a little pea size or fill the well) and let it dry overnight. By letting it dry overnight, you are ensuring that you’re not going to pick up as much paint as you would if it were straight from the tube.
You’ll be shocked by how long this lasts! I have many tubes of paint that I haven’t had to replace yet and I’ve been painting professionally for the past 2 years! (Of course there are always exceptions to this rule – if you need that juicy paint, sometimes you just have to go straight to the tube, but it doesn’t need to be all the time!)
2. Don’t pick up paint you don’t need
This ties back to the previous point, we’re going to let our paint dry over night first to make sure we're not wasting the paint. But there are other things you can do to make sure you’re not grabbing too much paint. Do you notice that your water cup is always really muddy, even if you just changed it? This could be a sign that you’re picking up more paint than you need. More paint is going into your cup than onto your page. This is a common issue that I see when teaching workshops, folks will be like, “wait, why is your cup more clear than mine?!?!” So here are some tips to not pick up more paint than you need.
Start light!
By starting light with your watercolor (more water than paint) you can alway add more paint. This is a good rule of thumb in general with watercolor, because it is much easier to darken a piece than lighten it. This way you’re only using a little bit of paint at a time and layering up gradually.

Control your water
A lot of times folks will grab way too much water and make a big juicy paint puddle when really just a lighter, dry touch is needed. I find this especially happens when painting details. To control the water, you can press your brush against the rim of your water cup to press some of the water out of the belly of your brush (kind of like ringing out a washcloth, but less twisting).
Paint color by color
If you’re able to, try to paint one color at a time. For some projects this won’t work, but if you don’t have to clean off your brush in between little moves of different colors, (from blue to green to red to pink to yellow to blue to yellow to blue) instead try to paint all one color first. This will cut down on the amount of paint that is rinsed off into your water cup.
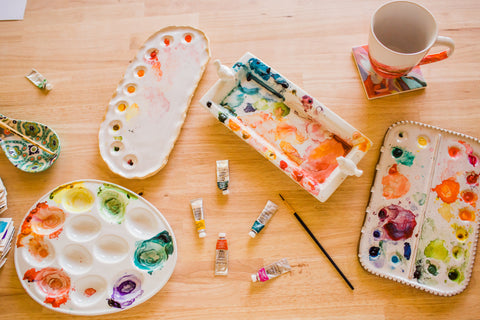
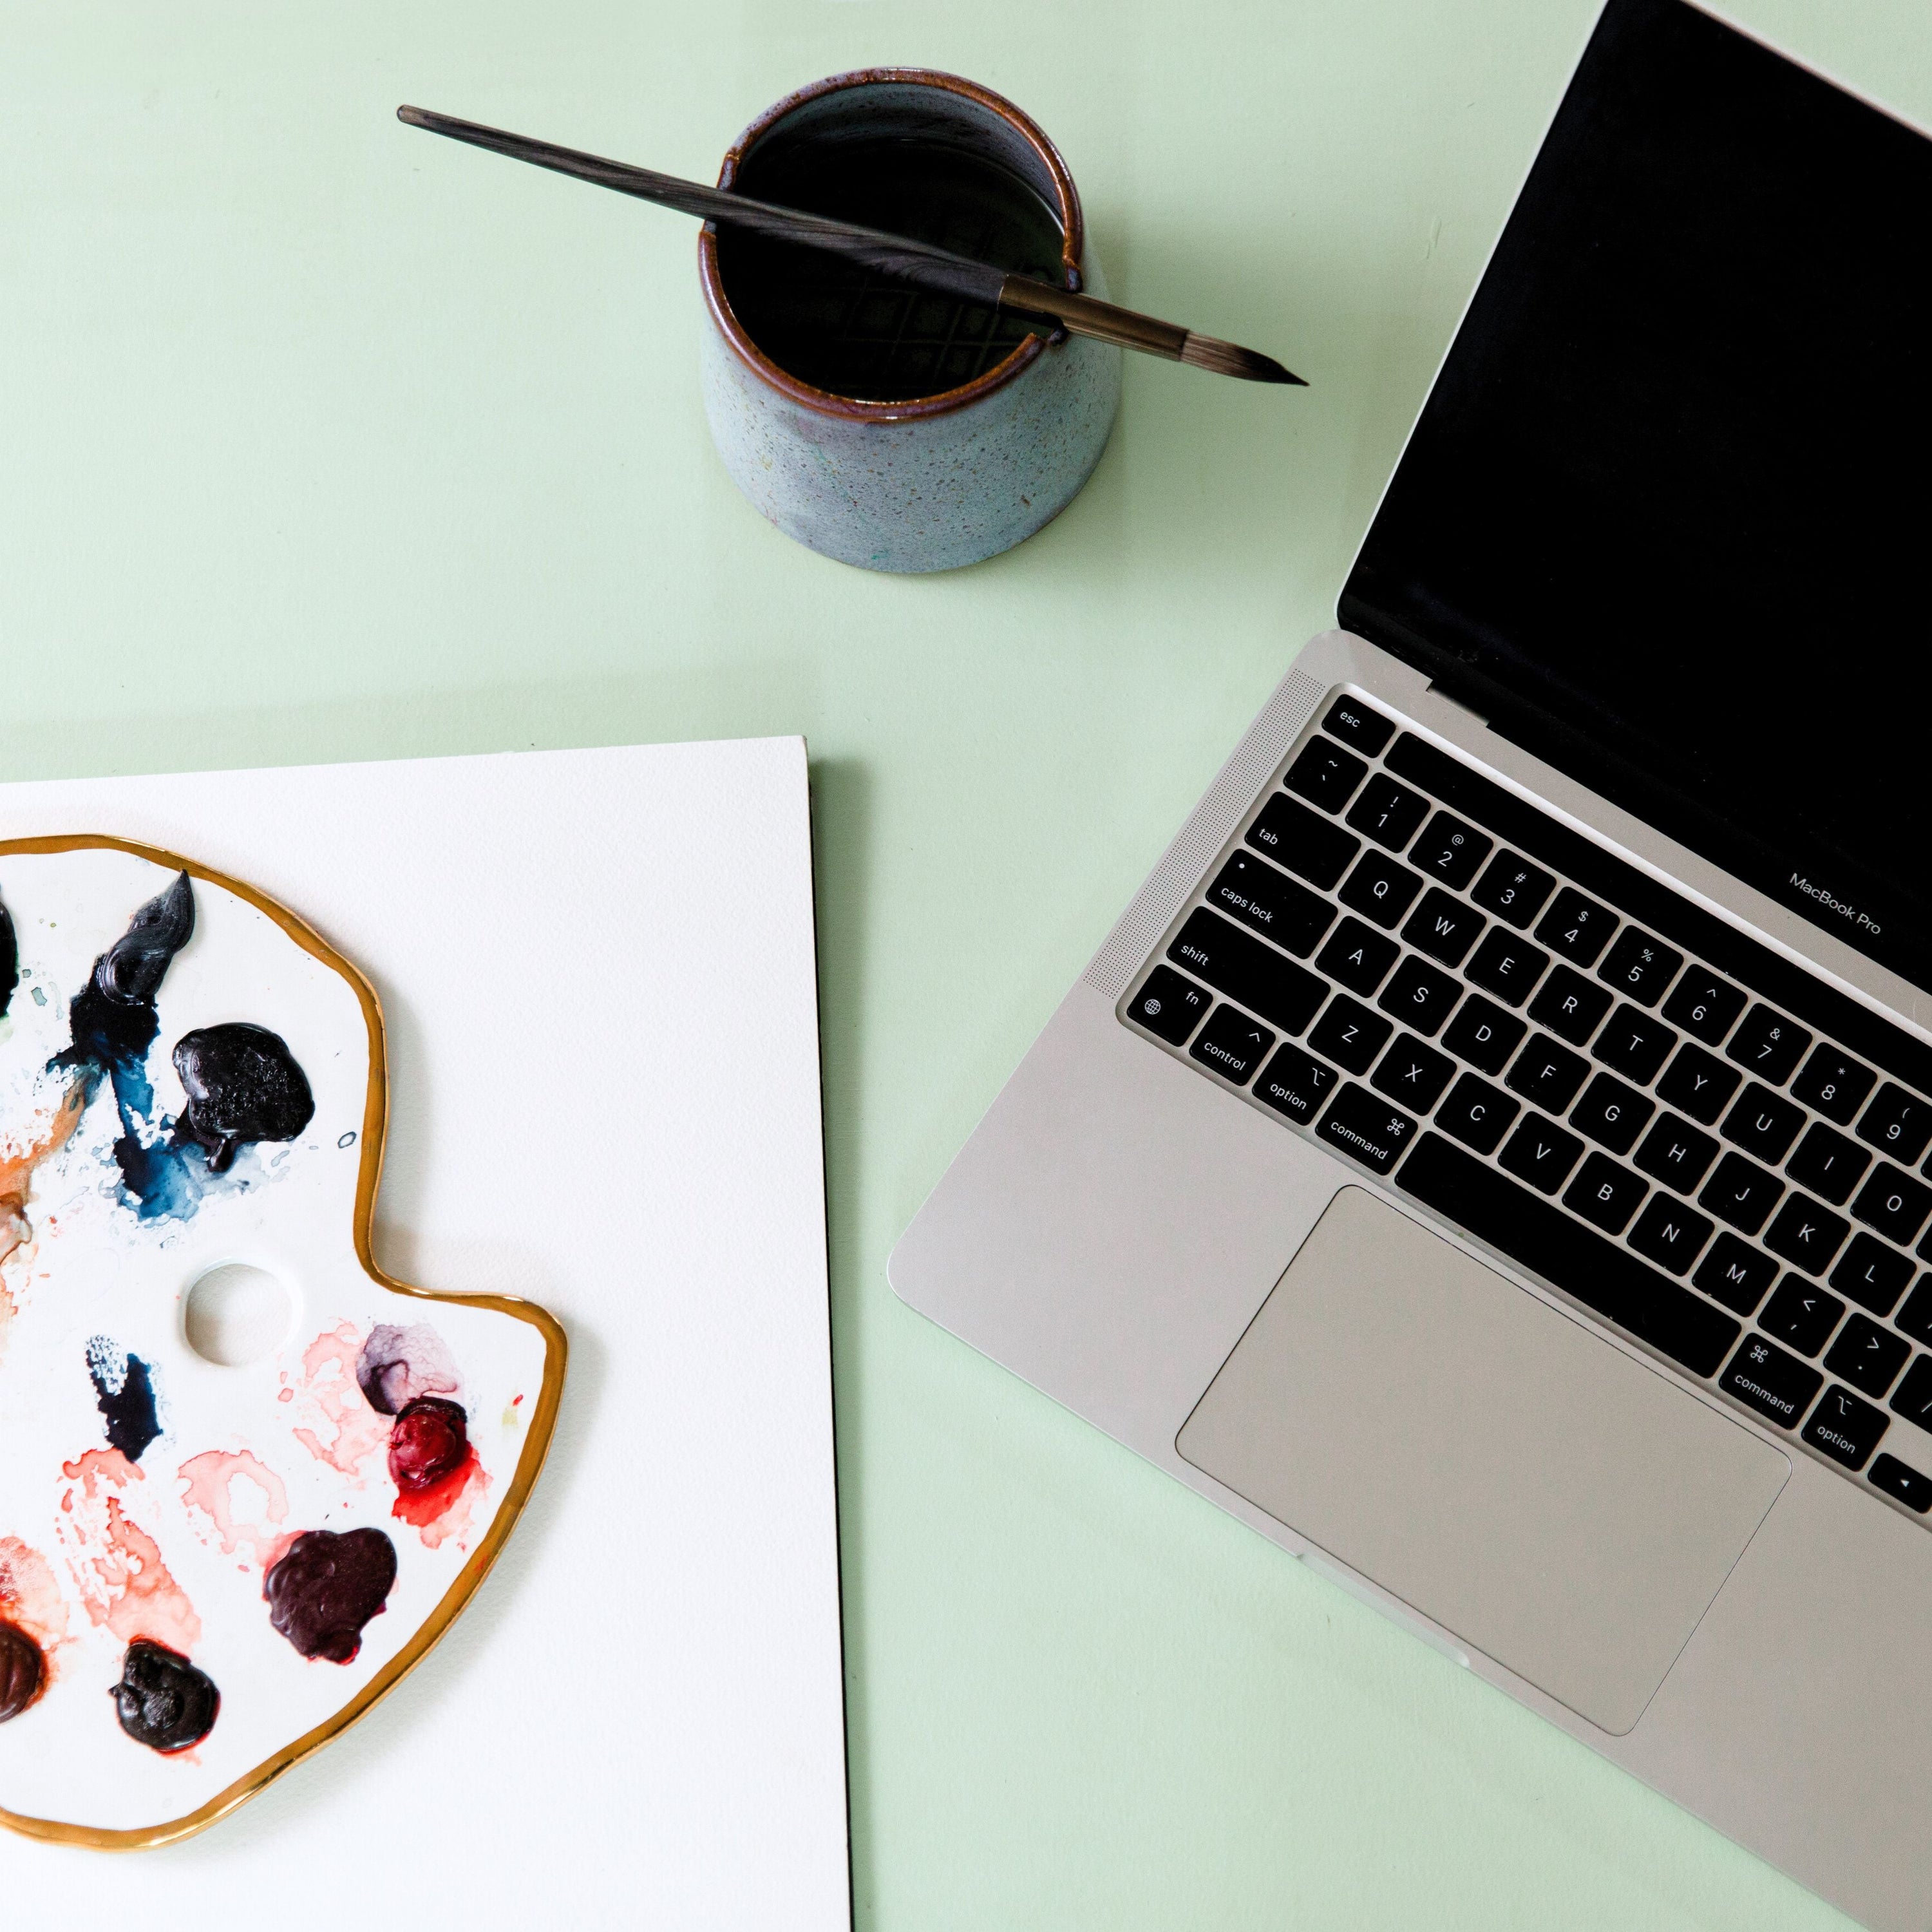
3. Reuse palettes
So this is one of my favorite strategies. Whether you use a plate, a palette that has wells for all your colors, or you have special palettes for limited colors--you can reuse these over and over and over until the paint is all used up. Just let the paint dry and then wet it when you’re ready to reuse it. This is good for a couple of reasons:
- Obviously it saves paint! That’s what we’re talking about today! Instead of throwing out the paint when you’re done with that project, you can reuse it!
- Unexpected Treasures! When you reuse a palette often times there are colors mixed on there that are just perfect for that tiny little detail you need for your next painting. There are so many times that I couldn’t tell you what happened to create a certain color because it was just part of a paint puddle from a previous project.
- They are fun decoration! Okay so this is more of a silly reason, but I am so obsessed with my palettes that it pains me to put them away in a drawer when not in use. Now I have adorned my shelves with palettes that I’ve placed on plate-displays. This not only adds a pop of color, it also makes me happy every time I look at it.
- **Notes about palette organization: Honestly, if you only have one palette with all your fave colors, that is totally fine. I am an art supply hoarder with a retail therapy affinity so if that’s not your jam, don’t worry.

4. Get all the paint out of the tube!
Getting all the paint out of the tube can be a pain, so here is how to get the most out of it!
- Get yourself a Big Squeeze just like toothpaste, this will help you get all of the good stuff out of the bottom part of the tube.
- Once you’ve squeezed the life out of your tube, there is still going to be more in the top portion--that pesky bit that the big squeeze can’t get out without popping the top of your paint tube off.
- Here is where you’re going to get your gross scissors and do some surgery. This can get messy, so just be prepared. Cut it open and use a toothpick to help get out as much paint as possible and put that on your palette.
5. Dot cards:
If you’ve read this and you’re still hesitant about going in for the tubes, you can always start with dot cards. Dot cards are a great way to test out paints without committing to the full tube. I love getting dot cards from small paint makers as a way to sample their products and see if it is a good fit! I can be a texture snob so I want to see if I like how they make their paints.
You can also order dot cards from Winsor & Newton with their full collection so you can test everything out before you buy it.
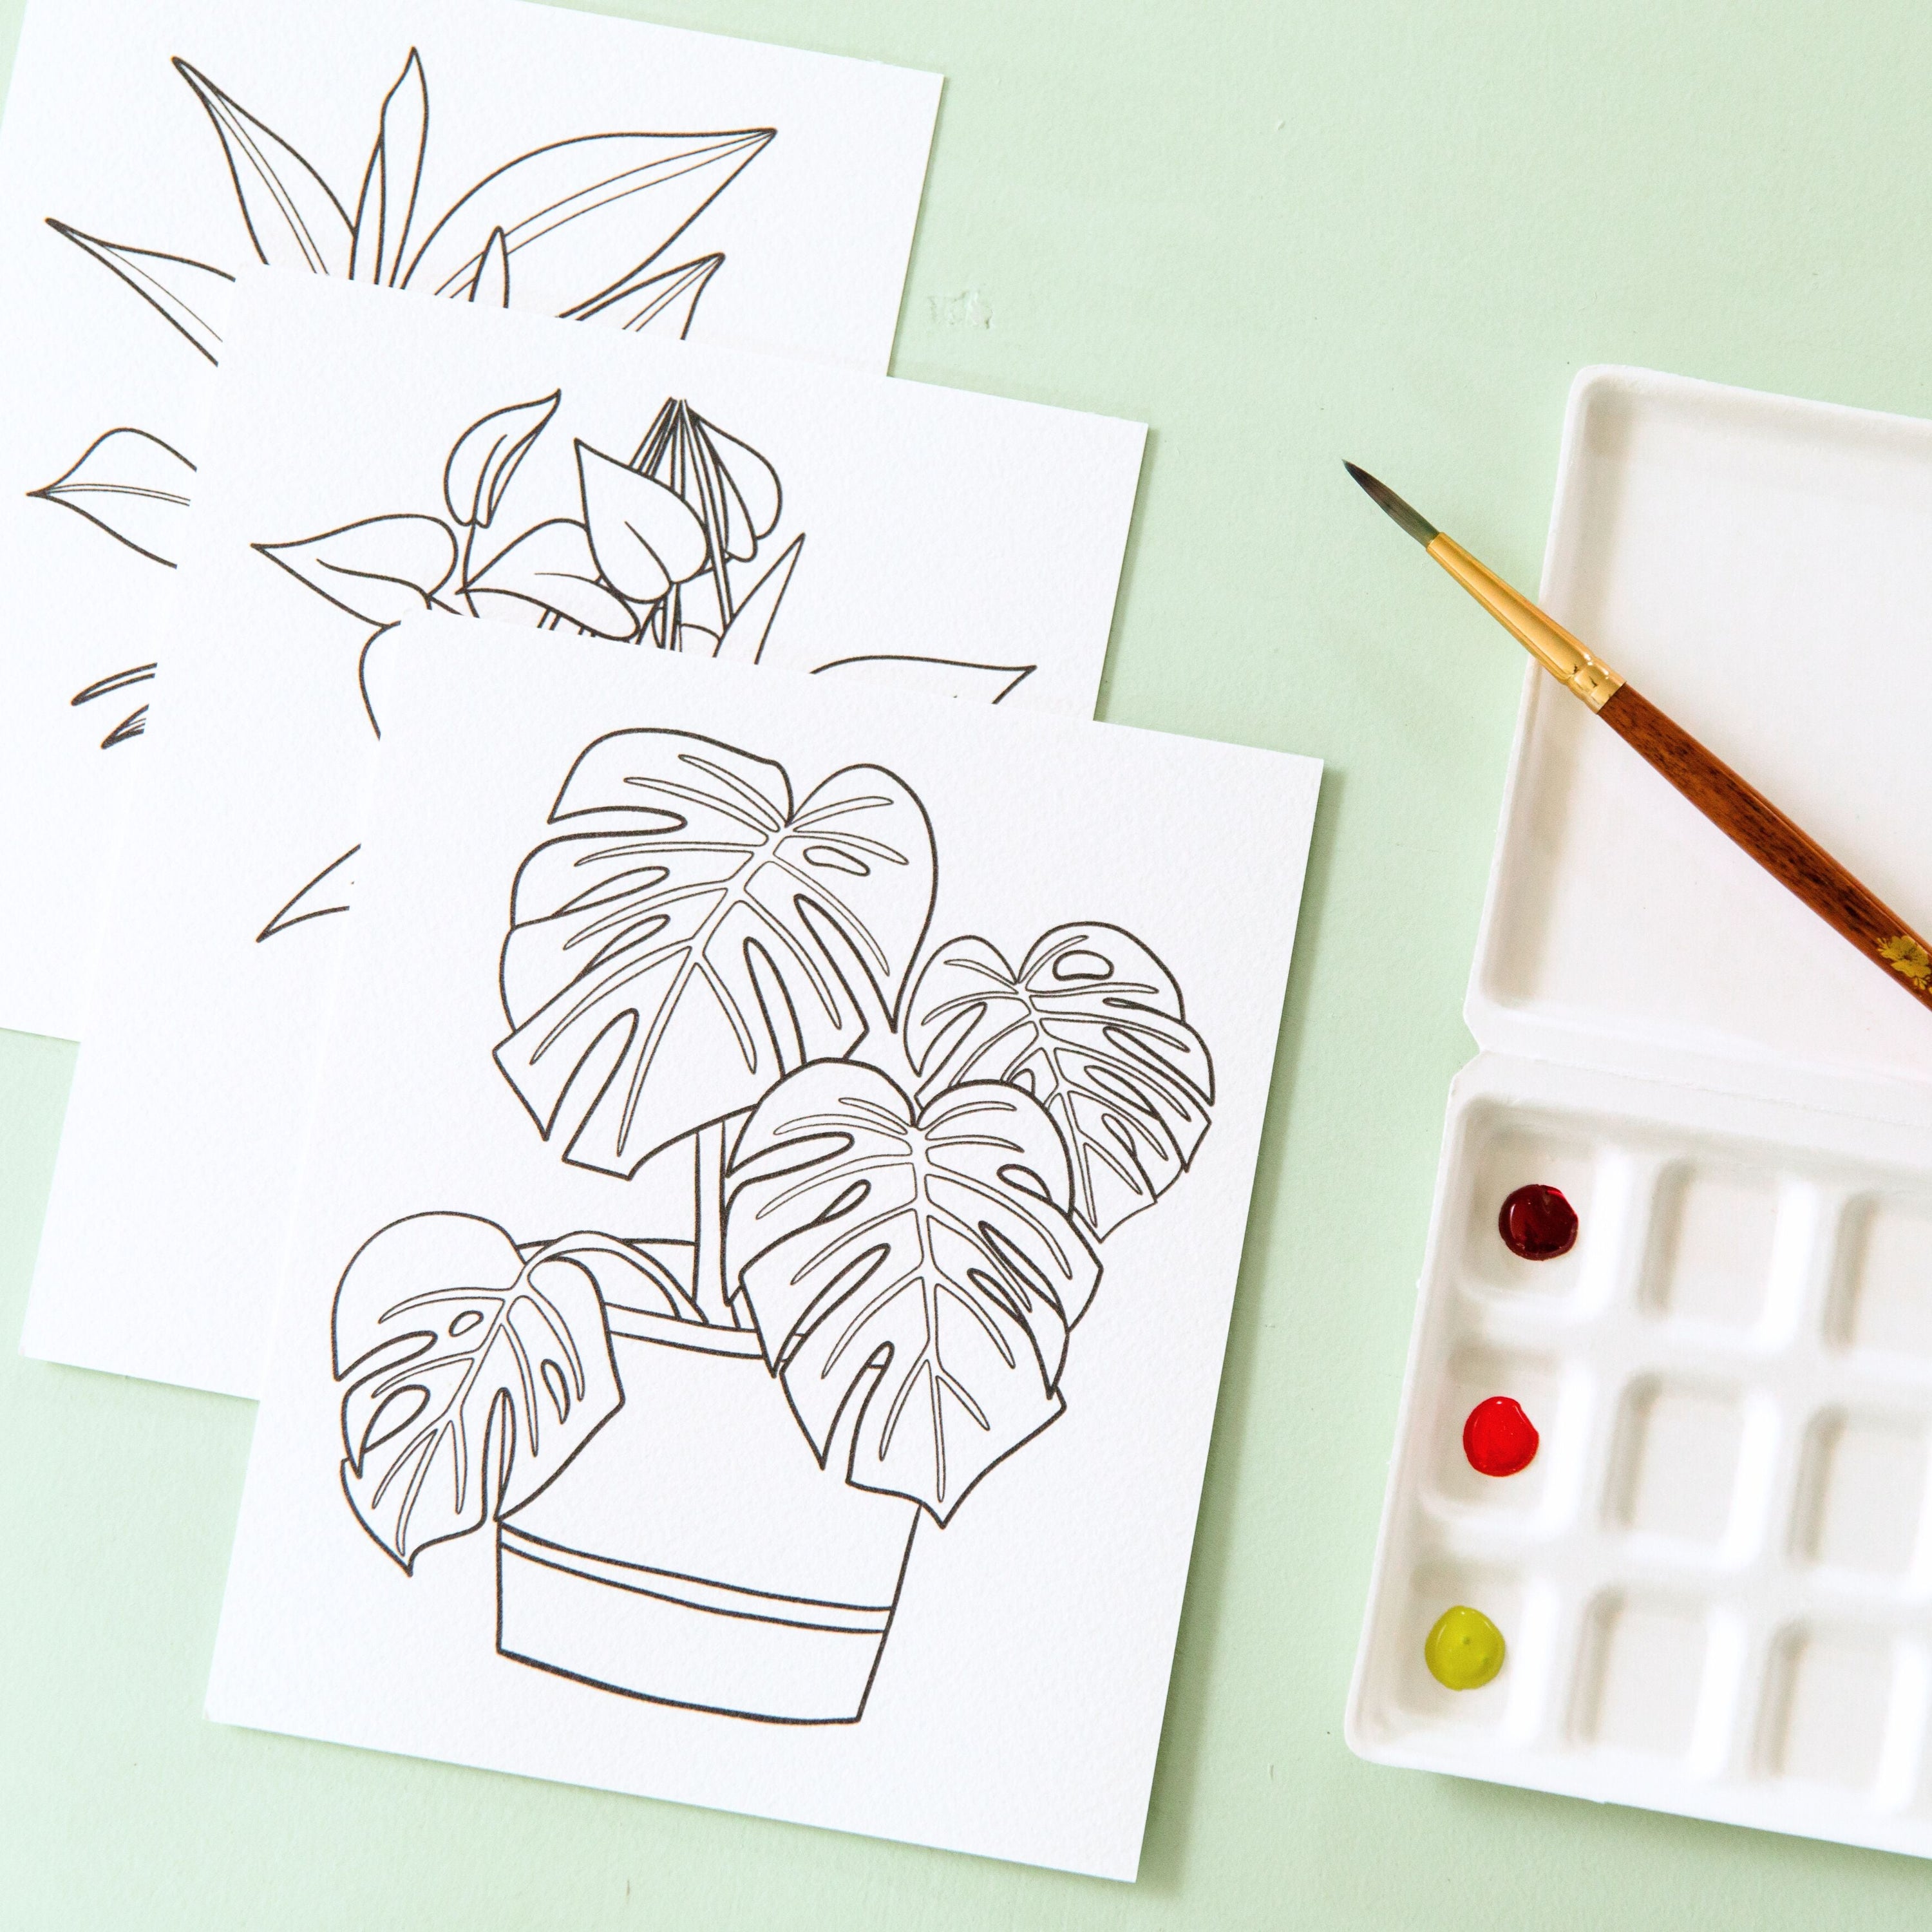
If you’re not sure where to start but you're ready to start dabbling in the fancier paint supplies, I HIGHLY recommend our Watercolor Kits. These kits come with three designs on Arches paper (this is the best! If you want to learn more about watercolor paper, click here), six dots of professional grade watercolor paint (especially curated for these designs), three Princeton Brushes size 1,3,5, and a link to THREE paint-along tutorials from yours truly where I walk you through the paintings step-by-step (check out an example of a paint-along here). There are also a ton of nuggets about color mixing in these videos!
Whew! Who knew there was so much to say about watercolor tubes!!?!?!?
If this was helpful, I have a couple more resources for you that I would encourage you to check out.
If you're curious about the products I mentioned in this video, check out my Supply List where I list all of my favorite supplies!
If you want to learn more about watercolor, check out my FREE five-day Watercolor Basics course.
I have tons of videos on my YouTube channel about all things watercolor.
If you want to stay up to date on all the resources I'm constantly sharing, sign up for my newsletter to get it delivered to you mostly-weekly in a tidy little email.
Happy Painting, Friend!